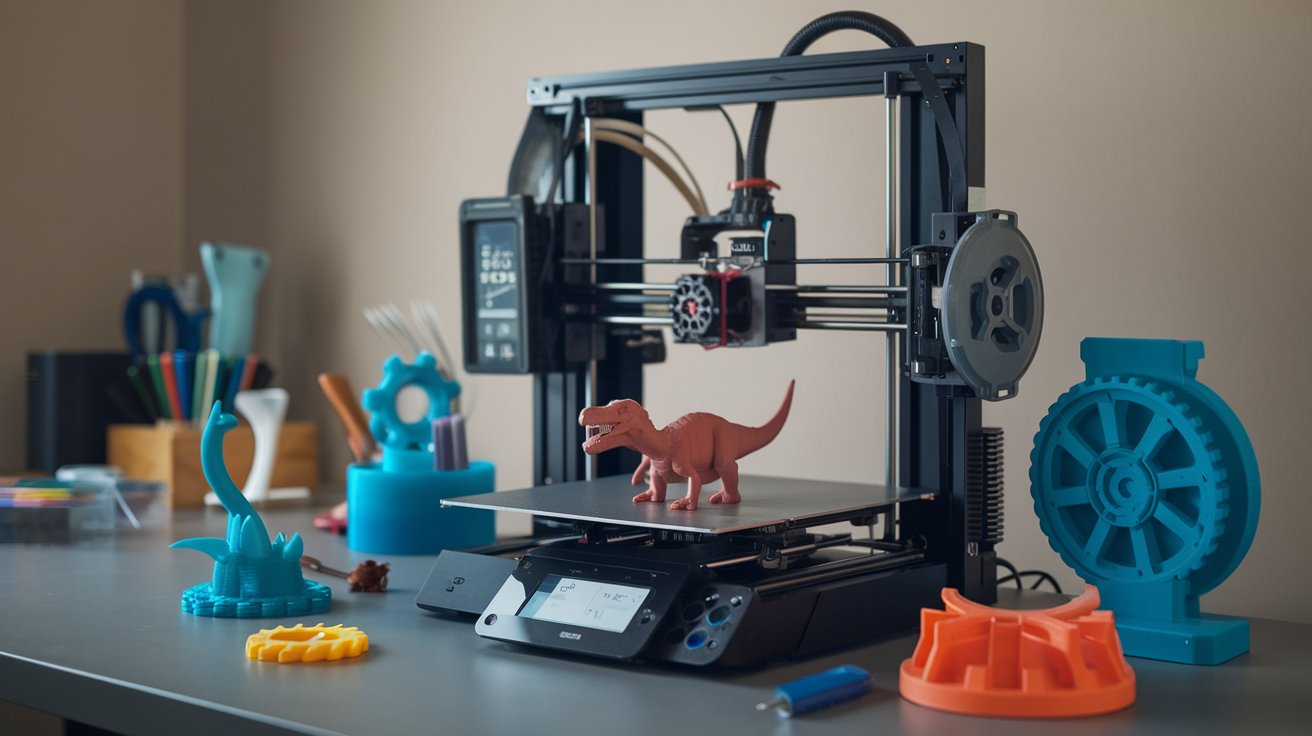
Calibrating a 3D printer is the foundational process that determines print quality, dimensional accuracy, and material efficiency. Proper 3D printer calibration involves adjusting mechanical components, flow rates, temperatures, and bed leveling to achieve optimal performance. In the United States, where additive manufacturing continues growing at 21% annually through 2026, understanding calibration procedures separates successful prints from wasted filament. This comprehensive guide covers every calibration aspect, from initial setup to advanced fine-tuning techniques.
Understanding 3D Printer Calibration Fundamentals
Three-dimensional printer calibration refers to the systematic adjustment of hardware and software parameters to ensure accurate dimensional output and consistent print quality. The process addresses mechanical alignment, extrusion rates, temperature control, and build plate positioning. In 2026, modern 3D printers incorporate automated calibration features, yet manual verification remains essential for precision applications. Most calibration issues stem from thermal expansion, belt tension variations, and gradual mechanical wear over printing cycles.
The calibration process directly impacts layer adhesion, surface finish, dimensional tolerance, and material consumption. Professional users in the United States report that proper calibration reduces print failures by up to 73% and extends machine longevity by ensuring components operate within design specifications. Understanding the relationship between calibration parameters and print outcomes enables operators to troubleshoot quality issues methodically rather than through trial and error.
The Four Core Types of 3D Printer Calibration
Comprehensive 3D printer calibration encompasses four distinct categories that interact to produce quality prints. Each calibration type addresses specific mechanical or software parameters, and the proper 3D printer calibration order ensures adjustments build upon accurate baseline settings rather than compensating for uncorrected errors.
Mechanical Calibration and Frame Alignment
Mechanical calibration establishes the physical foundation for all subsequent adjustments. This includes verifying frame squareness, checking linear rail alignment, and ensuring the gantry moves perpendicular to the build plate. Frame misalignment compounds throughout the Z-axis, causing dimensional inaccuracies that software cannot correct. Using precision measuring tools, operators should verify that diagonal measurements across the frame differ by no more than 0.5mm for machines with 300mm build volumes. Belt tension requires 110-130Hz frequency when plucked, measured using smartphone applications available in 2026 that analyze acoustic resonance patterns.
Bed Leveling and First Layer Calibration
Build plate leveling directly affects first layer adhesion, which determines overall print success rates. Manual bed leveling uses paper feeler gauges creating 0.1mm nozzle clearance at multiple points across the bed surface. Automatic bed leveling systems probe the surface at 9-25 points, generating compensation meshes that software applies during printing. The most common calibration requirement involves adjusting Z-offset values, which set the precise distance between nozzle and bed during the first layer. In 2026, capacitive and inductive probe systems achieve repeatability within 0.01mm, though thermal drift requires re-leveling when changing materials or ambient temperatures fluctuate beyond 5°F.
Extrusion and Flow Rate Calibration
Extrusion calibration ensures the printer deposits the exact material volume specified by slicing software. The 3D printer flow calibration process begins with E-steps calibration, commanding the extruder to push 100mm of filament and measuring actual movement. The calculation divides current E-steps by 100, then multiplies by measured distance to determine corrected values. Flow rate calibration follows, printing single-wall test structures and measuring wall thickness. Adjustments typically range from 92% to 105% of baseline flow, with variations caused by filament diameter inconsistencies, manufacturing tolerances, and nozzle wear. Using a 3D printer flow calibration calculator streamlines this process by automating the mathematical conversions.
Temperature and Retraction Calibration
Temperature calibration optimizes the balance between layer adhesion and dimensional accuracy for specific filament materials. Temperature towers print segments at 5°F increments, allowing visual assessment of bridging performance, overhang quality, and stringing characteristics. PLA typically calibrates between 190-220°F, while PETG requires 230-250°F for optimal results in controlled environments. Retraction calibration prevents stringing by pulling filament back during non-printing moves. Modern direct drive extruders achieve optimal results with 0.5-2mm retraction distances at 25-45mm/s speeds, while Bowden systems require 4-7mm distances due to longer filament paths between extruder and hotend.
Why 3D Printer Calibration Is Necessary
Printer calibration addresses the inevitable variations in manufacturing tolerances, component wear, and environmental factors that affect print quality. Even premium machines from leading manufacturers exhibit dimensional variations between 0.1-0.3mm without proper calibration procedures. Material properties change with humidity exposure, particularly hygroscopic materials like nylon and TPU that absorb atmospheric moisture in humid U.S. regions. Temperature fluctuations cause thermal expansion in metal components, altering critical distances by micrometers that accumulate across hundreds of layers.
The economic impact of calibration becomes apparent when calculating material waste and time costs. A single failed print on a large format printer can waste $50-200 in material and 20-40 hours of machine time. United States manufacturing facilities report that implementing regular calibration schedules reduces failure rates from industry averages of 15-20% down to 2-4%. Beyond cost savings, calibration ensures consistent results across multiple machines, enabling scalable production and reliable delivery schedules for commercial operations.
How Often to Perform 3D Printer Calibration
Calibration frequency depends on usage intensity, environmental stability, and application requirements. Professional operations running machines 40+ hours weekly should perform comprehensive calibration monthly, with quick bed leveling checks before each print session. Hobbyist users printing 5-10 hours weekly can extend full calibration intervals to quarterly periods while maintaining bed leveling verification before critical prints. Temperature and humidity variations require additional calibration attention, particularly in U.S. regions experiencing seasonal extremes.
Specific triggers indicate immediate calibration needs regardless of schedule. Visible layer inconsistencies, dimensional inaccuracies exceeding 0.2mm, first layer adhesion failures, and unusual noises during operation all signal calibration requirements. Changing between material types necessitates temperature and flow calibration, while physical machine relocation requires complete mechanical and bed leveling recalibration. Users should maintain calibration logs documenting settings and test print results, enabling rapid identification of degrading performance trends before they cause print failures.
Step by Step 3D Printer Calibration Process
Systematic calibration follows a specific sequence that establishes accurate baselines before dependent adjustments. Beginning with mechanical components ensures subsequent software calibrations reference true physical positions rather than compensating for structural issues. The complete calibration process typically requires 2-4 hours for thorough execution, though experienced operators complete routine calibrations in 45-60 minutes.
Initial Mechanical Inspection and Adjustment
Begin calibration by powering off the printer and inspecting all mechanical components for wear, looseness, or damage. Check belt tension by plucking each belt and listening for consistent tone, tightening or loosening using tensioner mechanisms until achieving 110-130Hz frequency. Verify linear bearing movement by manually sliding the print head and bed assemblies, feeling for binding or rough spots indicating contamination or misalignment. Apply appropriate lubrication to lead screws and linear rods using PTFE-based lubricants that withstand operating temperatures without attracting dust. Inspect all mounting bolts and frame connections, tightening any loose fasteners to specified torque values when available.
Bed Leveling Calibration Procedure
Heat the bed to typical operating temperature before leveling, as thermal expansion affects surface flatness. For manual leveling, position the nozzle at bed center and lower until it touches the surface, then back off 0.1mm using paper as a feeler gauge. Move to each corner and adjustment point, repeating the paper test while turning leveling knobs until consistent resistance appears across all positions. Automatic bed leveling systems require probe Z-offset adjustment, printing test patterns and measuring first layer thickness to achieve 0.2mm layer height with proper bed adhesion. Create and save mesh compensation data through printer firmware, enabling automatic surface variation compensation during subsequent prints.
E-Steps and Flow Rate Calibration
Mark filament exactly 120mm above the extruder entry point using permanent marker or tape. Command the extruder to push 100mm of filament at normal printing temperature through printer control software or 3D printer calibration software interfaces. Measure the remaining distance from the extruder to your mark, subtracting from 120mm to determine actual extrusion distance. Calculate new E-steps by dividing current E-steps value by actual distance extruded, then multiplying by 100. Update firmware with corrected E-steps and verify by repeating the test, achieving accuracy within 1mm before proceeding to flow calibration using single-wall test prints.
Temperature Tower and Retraction Testing
Download and print a temperature tower 3D printer calibration STL file designed for your specific material type. These models print segments at different temperatures, allowing direct comparison of bridging quality, overhang performance, and stringing characteristics. Select the temperature producing the best overall results, considering both aesthetic quality and dimensional accuracy. Follow with retraction testing using specialized 3D printer calibration test models featuring multiple towers separated by travel moves. Adjust retraction distance in 0.5mm increments and speed in 5mm/s steps until achieving minimal stringing without causing extruder grinding or gaps in subsequent extrusion.
Using 3D Printer Calibration Test Models
Standardized test models provide objective assessment of calibration accuracy across multiple parameters simultaneously. The 3D printer calibration cube represents the most widely used verification tool, featuring 20mm dimensions that enable precise measurement using digital calipers. Properly calibrated machines produce cubes measuring 20.00mm ±0.1mm on all axes, with perpendicular corners and smooth surface finish. Dimensional inaccuracies indicate specific calibration issues: X/Y expansion suggests flow rate excess, Z-axis compression indicates improper layer height settings, and corner rounding reveals acceleration or jerk settings requiring adjustment.
Advanced calibration models include the 3D printer calibration boat, which tests bridging capability, overhang performance, and fine detail reproduction in a single print. Temperature towers embed multiple test features at different thermal settings, while retraction tests quantify stringing reduction across parameter variations. These specialized test prints significantly reduce calibration time by consolidating multiple assessments into single prints lasting 30-90 minutes. Maintaining a library of calibrated test prints enables rapid comparison when troubleshooting new issues or verifying calibration status before critical production runs.
Common Symptoms of Poor Calibration
Identifying calibration issues through print defects enables targeted correction rather than comprehensive recalibration. First layer problems including poor adhesion, elephant’s foot, or inconsistent extrusion directly indicate bed leveling issues or incorrect Z-offset values. Dimensional inaccuracies where printed parts consistently measure larger or smaller than designed specifications suggest flow rate miscalibration, requiring adjustment of extrusion multiplier values or E-steps verification.
Layer inconsistencies manifest as visible lines, gaps, or surface roughness indicating mechanical issues such as loose belts, binding axes, or inconsistent filament diameter. Stringing between printed features reveals excessive temperature or insufficient retraction settings, while weak layer adhesion suggests inadequate printing temperature or cooling fan interference. Corner lifting and warping indicate thermal management issues requiring bed temperature adjustment or environmental control improvements. Recognizing these symptoms allows operators to target specific calibration procedures rather than executing time-consuming comprehensive calibrations when isolated adjustments would suffice.
Advanced Calibration Techniques for 2026
Modern 3D printer calibration incorporates sophisticated measurement and compensation techniques that exceed basic adjustments. Input shaping technology, implemented in current firmware versions, measures resonance frequencies in the printer’s mechanical system and generates acceleration profiles that minimize ringing artifacts. This calibration requires mounting accelerometers to the print head and executing automated test routines that sweep through frequency ranges, creating compensation algorithms that enable 30-50% higher print speeds without quality degradation.
Pressure advance calibration optimizes material flow during acceleration and deceleration, preventing bulging at direction changes and gaps at corners. The process prints test patterns with varying pressure advance values, allowing selection of settings that maintain consistent extrusion width throughout complex geometries. Linear advance, as implemented in popular firmware versions, requires values typically ranging from 0.05-0.15 for direct drive systems and 0.3-0.9 for Bowden configurations. Professional calibration at home increasingly incorporates these advanced techniques as firmware accessibility improves and educational resources expand through online communities and manufacturer documentation.
Calibration for Different Printer Technologies
FDM printers dominate the consumer and professional markets in the United States, but calibration requirements vary significantly across alternative technologies. Resin printers require exposure time calibration specific to each resin formulation, printing validation matrices at varying exposure durations to determine optimal curing that balances detail preservation with adequate strength. Build plate leveling remains critical, though tolerances tighten to 0.05mm or less due to the precision required for successful first layer adhesion to the FEP film.
CoreXY and Delta-style printers introduce unique calibration challenges due to their kinematic systems. Delta calibration involves adjusting endstop positions, delta radius, and rod length parameters to achieve accurate positioning across the circular build volume. These printers need specialized calibration routines built into firmware that probe multiple points and calculate geometric corrections automatically. Belt-driven systems like CoreXY require careful attention to belt tension balance between the X and Y motors, as imbalances create dimensional distortion in diagonal movements that simple axis calibration cannot correct.
Related video about how to calibrate a 3d printer
This video complements the article information with a practical visual demonstration.
Everything you need to know about how to calibrate a 3d printer
Do 3D printers need to be calibrated?
Yes, all 3D printers require calibration to achieve accurate dimensional output and consistent print quality. Even new machines from factory settings exhibit variations in mechanical assembly, belt tension, and component tolerances that affect performance. Initial calibration establishes baseline settings, while periodic recalibration addresses component wear, environmental changes, and material variations. Professional users in the United States perform comprehensive calibration monthly for heavily used machines, while hobbyist operators calibrate quarterly with bed leveling verification before critical prints. Proper calibration reduces print failures by up to 73% and ensures dimensional accuracy within 0.1mm tolerances.
Why is my 3D printer not accurate?
Dimensional inaccuracies typically stem from incorrect flow rate calibration, improper E-steps settings, or mechanical issues like loose belts and binding axes. If prints consistently measure larger than designed, reduce flow rate by 2-5% or verify E-steps calibration by measuring actual filament extrusion against commanded distances. Prints measuring smaller indicate under-extrusion requiring increased flow rate or loose extruder tension. Accuracy varying between axes suggests mechanical problems including belt tension imbalances, frame misalignment, or worn linear bearings. Temperature inconsistencies cause dimensional variations through thermal expansion and contraction during cooling, particularly with high-temperature materials printed in environments without temperature control.
How often should a 3D printer be calibrated?
Calibration frequency depends on usage intensity and application requirements. Commercial operations running machines 40+ hours weekly should perform comprehensive calibration monthly, with bed leveling verification before each print session. Hobbyist users printing 5-10 hours weekly can extend full calibration to quarterly intervals while checking bed level before important prints. Immediate calibration becomes necessary when changing material types, relocating the printer, observing print quality degradation, or experiencing dimensional inaccuracies exceeding 0.2mm. Environmental factors like significant temperature or humidity changes also trigger calibration needs, particularly in U.S. regions with seasonal weather extremes affecting workshop conditions.
What are the common symptoms of poor calibration?
Poor calibration manifests through multiple observable print defects. First layer problems including inadequate bed adhesion, elephant’s foot, or uneven extrusion indicate bed leveling issues or incorrect Z-offset. Dimensional inaccuracies where parts measure consistently larger or smaller than designed suggest flow rate miscalibration. Visible layer lines, gaps, or surface roughness reveal mechanical problems like loose belts or binding axes. Stringing between features indicates excessive temperature or insufficient retraction, while weak layer adhesion suggests inadequate printing temperature. Corner lifting and warping signal thermal management issues. These symptoms guide targeted calibration rather than comprehensive recalibration, saving time and materials while addressing specific performance issues.
What is the best 3D printer calibration software to use?
The most effective calibration software combines manufacturer-specific tools with universal utilities. Pronterface and OctoPrint provide comprehensive printer control interfaces for executing calibration commands, monitoring temperatures, and adjusting firmware parameters in real-time. Teaching Tech’s calibration website offers browser-based calculators generating custom calibration models and G-code for specific printer configurations. SuperSlicer and PrusaSlicer include built-in calibration wizards automating temperature towers, flow rate adjustments, and pressure advance tuning. For 2026, many printer manufacturers integrate calibration routines directly into touchscreen interfaces, executing automated bed leveling, resonance testing, and input shaping without external software requirements, significantly simplifying the process for users.
Can I calibrate my 3D printer at home without special tools?
Yes, comprehensive home calibration requires only basic tools available to most users. Digital calipers measuring to 0.01mm precision cost $15-30 and enable accurate dimensional verification of test prints. Standard printer paper serves as an effective feeler gauge for bed leveling, providing consistent 0.1mm thickness. Smartphone applications measure belt tension through acoustic analysis of plucked belts, eliminating dedicated tension meters. Free online calibration models and calculators generate test prints and compute corrected values from measurements. The primary requirements involve methodical execution of calibration procedures and careful measurement documentation. Advanced features like input shaping require accelerometer hardware costing $20-40, though basic mechanical, bed leveling, and extrusion calibration achieves professional results using minimal equipment investment.
| Calibration Type | Key Parameters | Frequency | Impact on Print Quality |
|---|---|---|---|
| Mechanical Alignment | Frame squareness, belt tension, linear rail alignment | Quarterly or after relocation | Dimensional accuracy, layer consistency |
| Bed Leveling | Z-offset, mesh compensation, corner leveling | Before each critical print | First layer adhesion, surface finish |
| Extrusion Flow | E-steps, flow multiplier, extrusion width | Monthly or material change | Dimensional precision, wall strength |
| Temperature Settings | Hotend temp, bed temp, cooling settings | Per material type | Layer adhesion, bridging quality |
| Retraction Tuning | Distance, speed, Z-hop height | Per material type | Stringing reduction, surface quality |